How To Make A Fondant Tree Stump Cake
How To Make A Fondant Tree Stump Cake

The miracle of Fondant, Foil and Food Coloring!
This is a quick and easy trade secret tutorial of making a Tree Stump Cake using Fondant.
Fondant and Food Coloring:
For covering your cake with fondant, use the paneling effect. Roll out a thin layer of fondant and lay it over the top, then carefully trim the fondant around the edge. With the sharper end of your veining modelling tool, score the top starting from the center out to the edge to give it a realistic “cut look” delineating the mark of a saw, as well as a few nicks and notches.
It is important to let this dry for at least 2 hours before applying your food coloring.

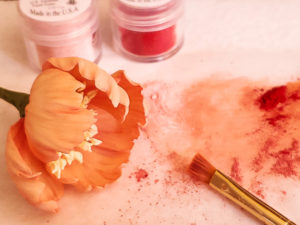
For the food coloring, use a couple drops of brown food gel paste with enough vodka to create the consistency needed for painting. This is where your turntable or lazy Susan comes in handy… With a 2″ Chip Brush paint brush (available at your local Home Depot) along with the assistance of a turntable or lazy Susan, hold the brush at an upright angle and starting from the center of your cake, rotate the turntable slowly moving the brush outward until you’ve reach the edge. You can make a couple of passes in the same manner. The vodka will evaporate quickly, so you may have to add a little more to keep the consistency. To emphasize the cut grooves, you can either use a darker shade of brown coloring or a brown food-grade marker to color (Ameri-color).
Let this dry at least 2 to 4 hours. Then it’s time to add your sides!

Foil and Fondant:
Measure the height of your cake and roll out lengthwise thin pieces of fondant. You can roll in batches because it’s good the let the fondant sit for at least 10 minutes so you can more easily maneuver the rolled pieces. Using a ruler and pizza cutter or knife, cut the height of your rolled fondant to match the height of your cake. Keep the trimmings! Fold in a fan-like manner or pleats your pieces of fondant and place on the side of your cake. If you need to trim the edges of the top and bottom, you can do so now. Use the veining modelling tool to press the top edge and bottom back into the cake to allow for a more lifelike cut look. With your trimmings, fold fan-like or pleated-like and place randomly around your cake to look like notches. Use your veining modelling tool to make random marks. Now take your piece of foil and scrunch it by making a fist. Use your scrunched foil to press into the fondant to create the textured bark of the tree. Congratulations! Your sides now have a bark effect!
Now be patient and let this dry for at least 2 hours.

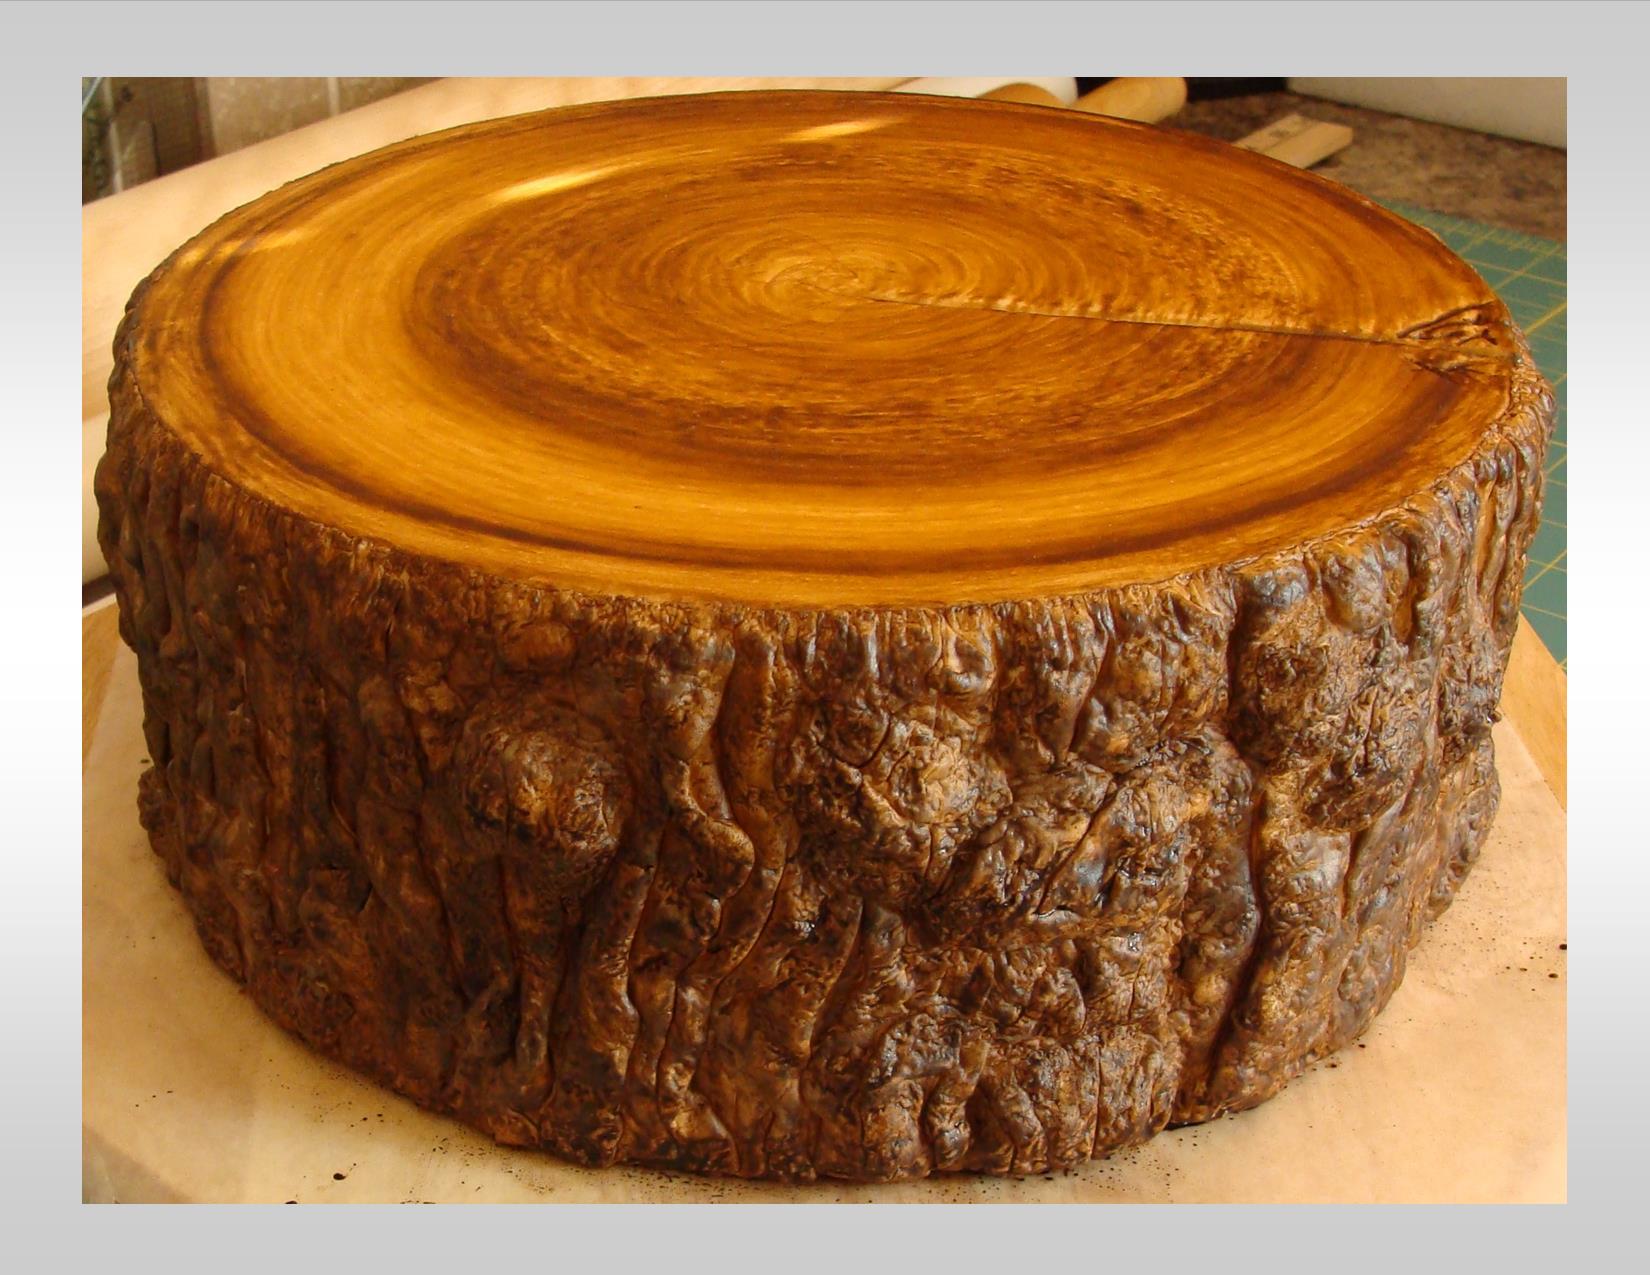
Once again, it’s time to paint! Using brown food gel paste, your Chip Brush and vodka, create the color and consistency you desire. Paint your sides applying up and down strokes. To create a little variation in color, pour some of the coloring into another container along with a few drops of bright white food gel paste and mix, adding vodka for needed consistency. Using a small artist brush, dip and paint to fill crevices that your Chip Brush did not reach, in addition to anywhere else you wish to creatively express. Let dry for at least another 2 hours and you have completed your cake tree stump.
Hope you enjoyed this behind the scenes trade secret tutorial. Remember to please be sociable and share this post. You’re awesome!
Sweetly, Julie.